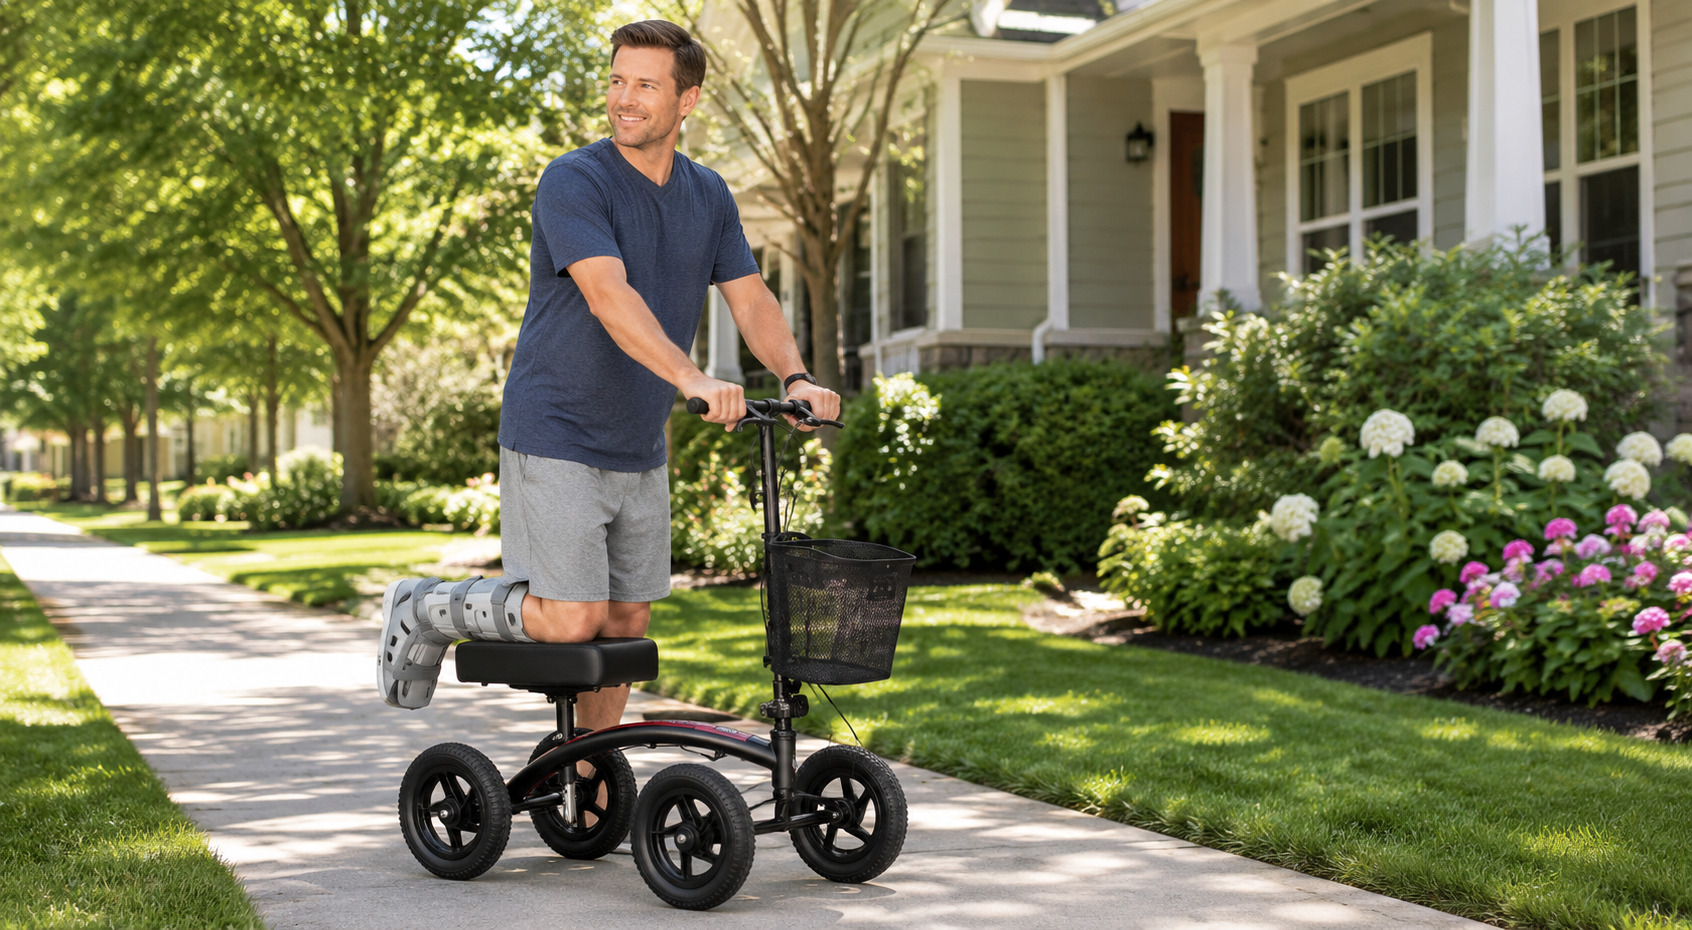
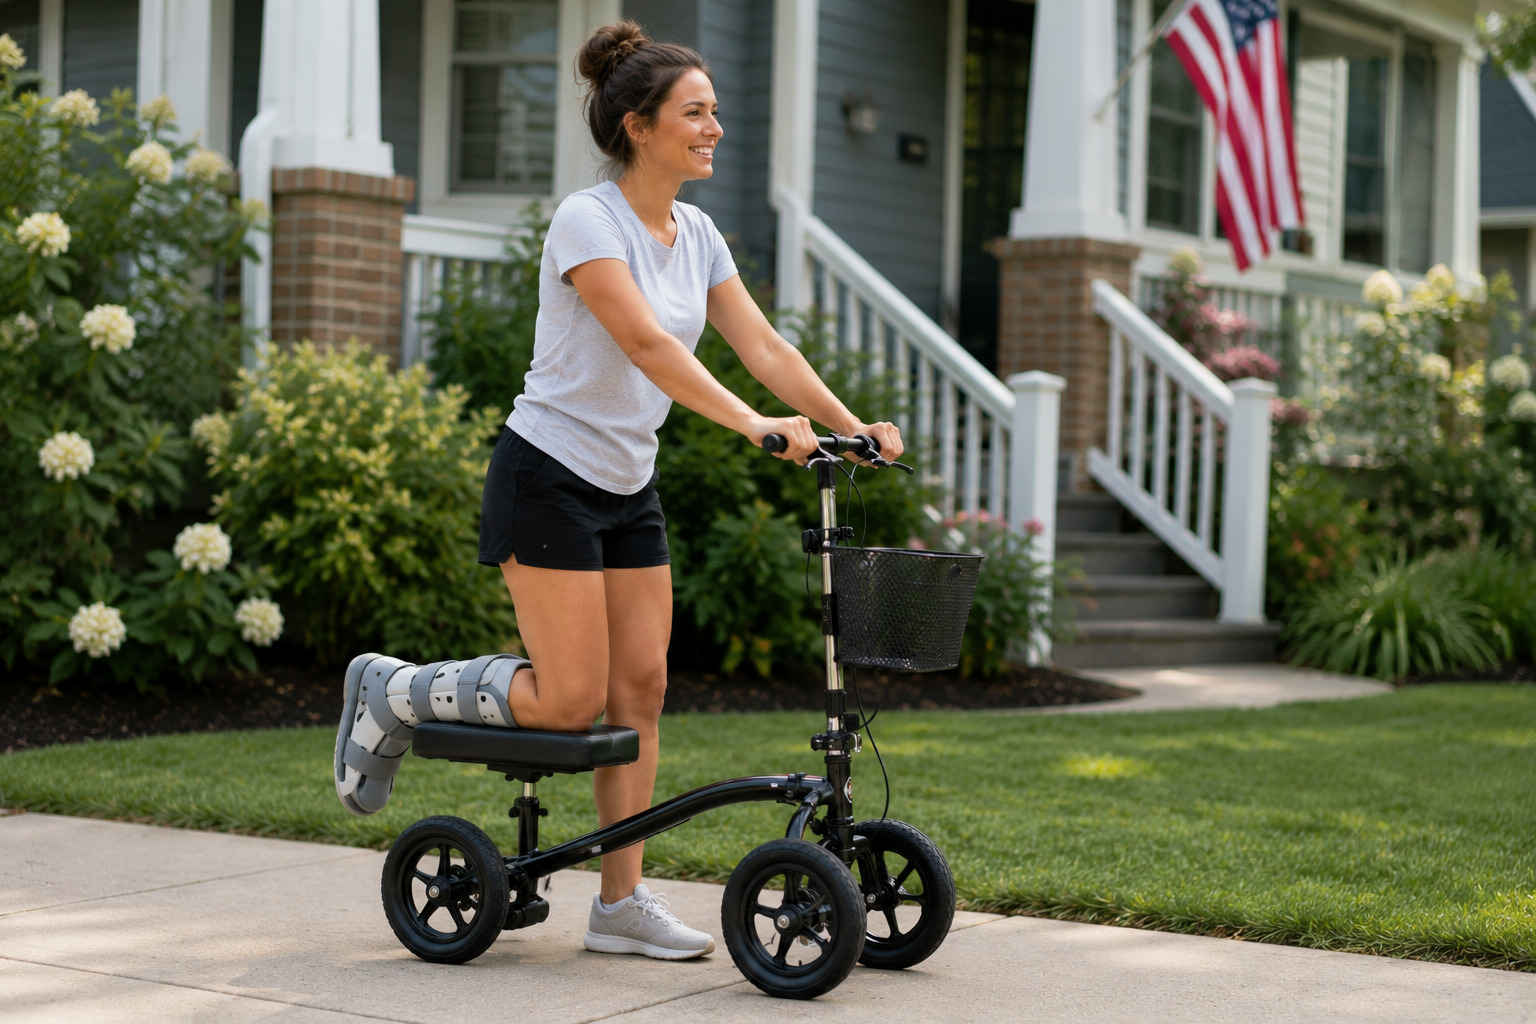
Recovery has a way of turning ordinary tasks into little puzzles. Making coffee. Carrying your phone. Even getting to the bathroom without thinking twice.
That’s why learning how to use the bathroom with a knee scooter matters sooner than most people expect. A few practical changes can make the routine feel much safer and a lot less frustrating.
Bathroom Navigation: A Step-By-Step Knee Scooter Routine
Bathrooms are the trickiest room in the house on a knee scooter. Narrow doors. Hard floors. Nothing soft to land on if you slip.
Most people learn this the hard way, on their first trip home from the hospital, wedging the scooter into a doorway that looked plenty wide until it wasn’t. Here’s exactly how to get in, do your business, and get back out again without ever putting weight on your injured leg.
Step 1: Check the Doorway First
Don’t just roll up and hope for the best. A quick look first saves you from getting stuck halfway through, wedged in the frame with nowhere to go.
- Most bathroom doors run 24 to 32 inches wide
- Scooter width varies by model. Check the Standard and All-Terrain specs before assuming either one clears your door
- Eyeball the gap on both sides as you roll up; don’t force it
- Watch for door stops or trim. They eat into the opening more than you’d think
Older homes are usually the problem. Doorways from a few decades back run narrower than what’s built today, so if yours looks tight, it probably is. Don’t gamble and try to power through at full speed.
A scooter stuck mid-doorway is a much bigger hassle to back out of than it is to just measure first. Thirty seconds with a tape measure beats five minutes of wrestling a scooter out of a door frame.
Step 2: Park It Smart
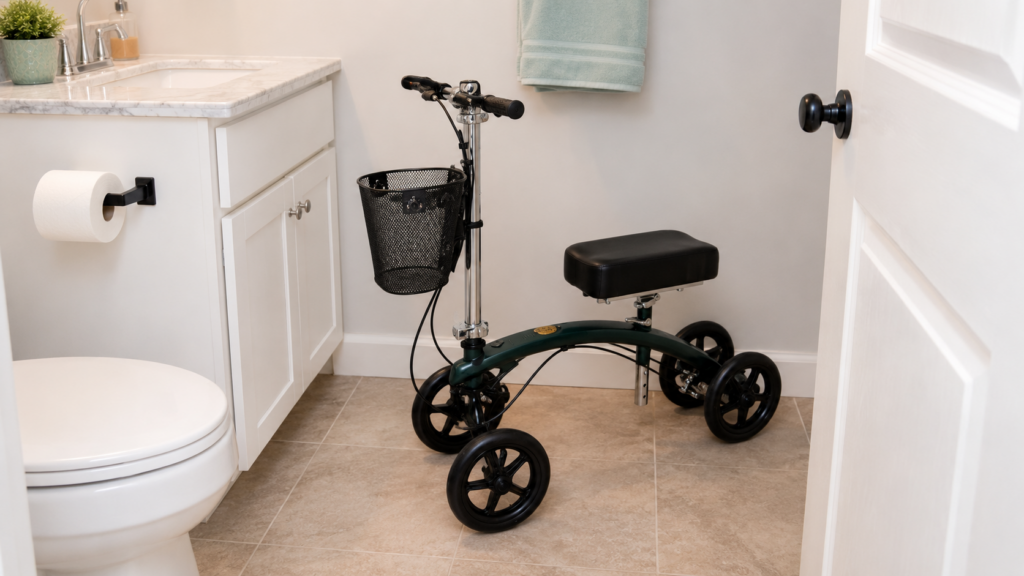
Where you park matters almost as much as how you get there; get it wrong, and a simple bathroom trip turns into an obstacle course on the way back out.
- If it fits: roll in, park against the wall by the sink or toilet, clear of the door’s swing, then set the brake
- If it doesn’t fit: stop just outside, angled so the knee pad and handlebars aren’t in your way
- Either way, brake on before you move an inch. No exceptions
Think of the scooter as base camp. It stays put, stays clear of the door, and stays exactly where your hands expect to find it on the way back.
Step 3: Dismount With a Three-Point Stance
Most falls happen right here, so slow down. Your good foot’s already on the ground since it’s what pushes you along, so dismounting just means lifting the injured knee off the pad without losing your footing.
- Keep the injured leg up the whole time. No testing it. No “just a little weight” to see how it feels
- Grab something solid first: a grab bar, the door frame, the counter’s edge, then lift your knee off the pad
- Skip the towel bar. Skip the toilet paper holder. Skip the shower door. None of them are built to hold your weight, and that’s exactly why people fall on them
Think rock climbing: one hold secured before you let go of the last one. If your hand’s not firmly on something solid, your foot shouldn’t be moving yet either. Slow is smooth here, and smooth is what keeps you upright.
Step 4: Hop or Pivot the Last Stretch
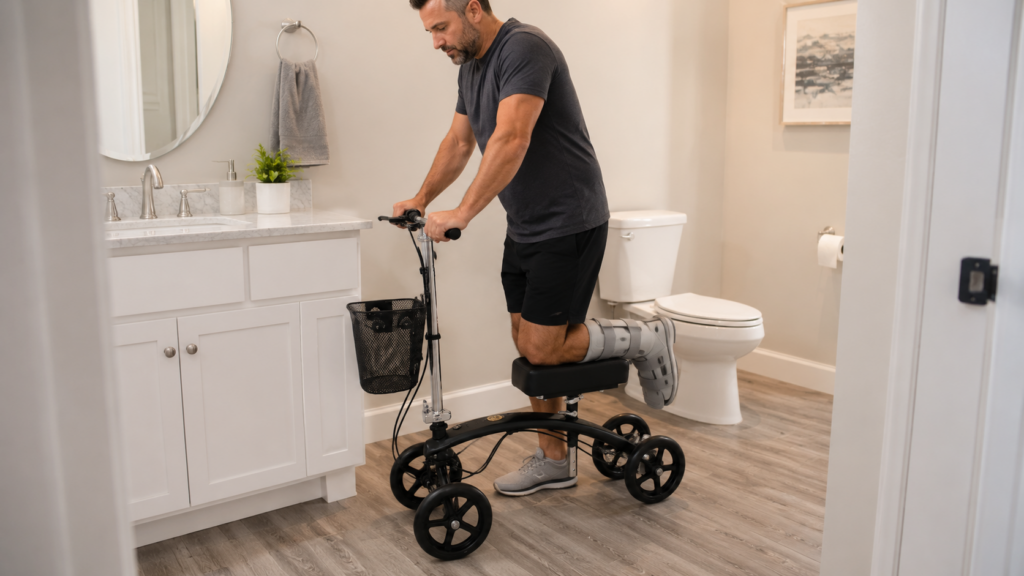
Small movements win here. You’re not racing anyone across the room, and rushing this part is exactly how a sprain turns into a second injury.
- Take short hops or a slow pivot-step, not one big stride toward the toilet or sink
- Keep a hand on the wall or counter the whole way, adjusting your grip as you go
- Don’t let go until the other hand’s found its next hold
If it helps, picture the floor as icier than it really is. That mental trick alone slows you down just enough, and keeps every move deliberate instead of rushed.
Step 5: Complete the Transfer
Toilet or sink, the move’s a little different for each, so it helps to know both before you’re standing there mid-transfer.
- At the toilet: back up until your good leg touches the bowl, reach back for the grab bar or a stable surface, and lower yourself with your arms, not your leg
- At the sink: brace a hip or hand against the counter so you’re not relying on balance alone
- Take your time going down. A slow, controlled lower beats dropping the last few inches
Your arms do the heavy lifting here, both times. Your injured leg just goes along for the ride, not a participant, not even for a second. A grab bar earns its keep in this step. A scooter alone can’t get you the last few feet safely.
Step 6: Get Back On the Scooter
Getting back on follows the same rules in reverse, and the order matters more than you’d think when you’re tired or in pain.
- Pivot or hop back using the same grab points from before
- Grip the handlebars first; keep your good foot on the ground for balance
- Rest the injured knee on the pad only once you’re steady and holding on, then release the brake
Loading your knee before you’ve got a firm grip is the classic mistake, and it’s how people lose their balance right at the finish line, after doing everything else right. Grip first. Knee up last. Release the brake and go.
Six steps, one goal: keep that injured leg off the ground until you’re safely back on the scooter.
Showering With a Knee Scooter: Stay Clean Without Risking a Fall
A knee scooter gets you to the bathroom door. That’s where its job ends. Wet tile and scooter wheels are a bad pair, so the scooter waits outside while a chair, a grab bar, and a little planning take over.
Set everything up before the water’s even on. Sounds like a small thing. It’s the difference between a normal shower and an awkward scramble.
Park the Scooter Before You Step In
Think of the shower as its own transfer, separate from everything else, the same logic you’d use for the toilet. Water on the floor plus scooter wheels equals trouble, and it happens fast.
- Park the scooter outside the shower or tub, close enough to grab once you’re done
- Set the hand brake before you get off, every time
- Keep the path between the scooter and the shower entrance clear
- Lay out your towel, clean clothes, and toiletries within reach first
Don’t block the doorway with it. You’ll want a clear, straight shot back once you’re dry and moving again.
Sit Down on a Shower Chair, Don’t Stand
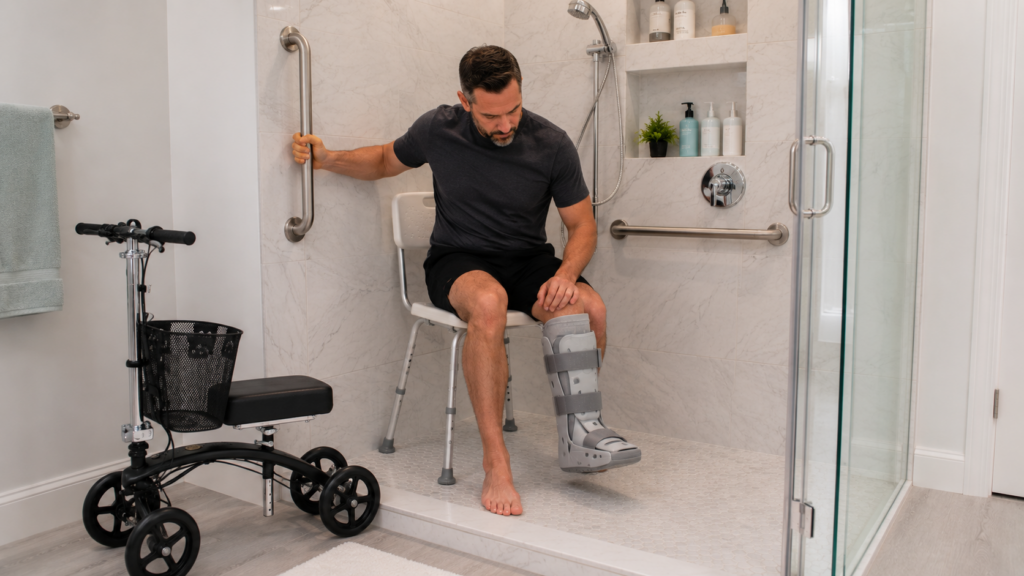
Standing on one leg in a slippery shower just isn’t worth it. A shower chair gives you something stable to sit on while your injured foot stays completely out of the equation.
- Hold a grab bar or another sturdy support during the transfer
- Sit first. Bring the injured leg into position after
- Keep your good foot flat on the shower floor
- Don’t perch on the tub edge while lowering yourself down
No grab bars in there yet? Get them installed before surgery if there’s time. Honestly, they’re one of the smartest upgrades for a recovery bathroom.
Keep Your Cast or Dressing Dry
Most casts and dressings shouldn’t get wet, not unless a doctor’s specifically cleared it. Keeping things dry protects your skin and keeps the materials from breaking down underneath.
- Wear a waterproof cast cover if one’s been recommended
- Keep the injured leg out of the direct spray when you can
- Check the seal on the cover before turning the water on
- Toss a damaged cover; don’t reuse it next time
Gets wet anyway? Dry it right away with a hair dryer on the cool setting, aimed under the cast, never a heater. Feels damp, spongy, or looks cracked afterward? Call your surgeon’s office.
Switch to a Handheld Showerhead
A fixed spray means twisting and reaching, exactly what you don’t want on one leg. A handheld wand fixes that, and it also puts you in control of where the water goes.
- Bring the water to you, don’t lean toward it
- Wash one section at a time, stay seated the whole time
- Keep soap and shampoo close, not a stretch away
- Dry your good foot before you try standing back up
Once you’re finished, don’t rush it. Dry the floor if it needs it, transfer back the same careful way you got in, and don’t release the brake until you’re fully balanced.
Get in, get clean, get out, all without ever risking a slip near the injury you’re trying to protect.
Don’t Let The Bathroom Slow Down Your Recovery
Recovering from a foot or ankle injury is challenging enough without worrying about every bathroom trip.
Taking a moment to position your scooter, use a stable support during transfers, and keep the shower setup safe can make everyday routines much less stressful while you heal.
If you’re still looking for a dependable knee scooter, we’re here to help at Knee Scooter USA.
Visit our Locations page, reserve the model that fits your recovery, and pick it up the same day so you can spend less time worrying about getting around and more time focusing on your recovery.