A walking boot protects your injury, but it also changes the way you move, balance, and get around every day. That’s why using a knee scooter isn’t quite as straightforward as it looks.
Whether you’re recovering from an ankle fracture, foot surgery, or a severe sprain, knowing how to use a knee scooter with a boot can help you stay mobile, avoid common setbacks, and feel more confident throughout your recovery.
This guide covers the practical tips, real-world advice, and recovery insights most first-time users wish they knew sooner.
Master the Technique: Riding Confidently With a Boot and Scooter
Strapping into a boot after an ankle fracture, foot surgery, or a bad sprain is disorienting enough on its own. Add a knee scooter into the mix, and the first ride can feel shaky if you don’t know where the boot’s supposed to sit. It doesn’t have to.
Follow these four steps in order, and you’ll have a stable, confident ride from the very first push.
Get Into Position First
Before you put any weight on the scooter, stand next to it the right way. Injured leg closest to the frame. Both hands on the handlebars, no exceptions.
- Stand beside the scooter, injured leg nearest the frame
- Grip the handlebars with both hands before shifting any weight
- Keep your uninjured foot planted flat on the ground
Sounds simple, right? It is. But rushing this step is exactly how people end up wobbling five seconds later. Plant your good foot, grab the bars, then lift your booted leg. In that order. Not the other way around.
Pro Tip: floor’s carpeted or a little uneven? Tap the brakes once before you mount up, just to double-check they’re holding. Takes two seconds. Saves you from an awkward first roll.
Position the Boot on the Knee Rest
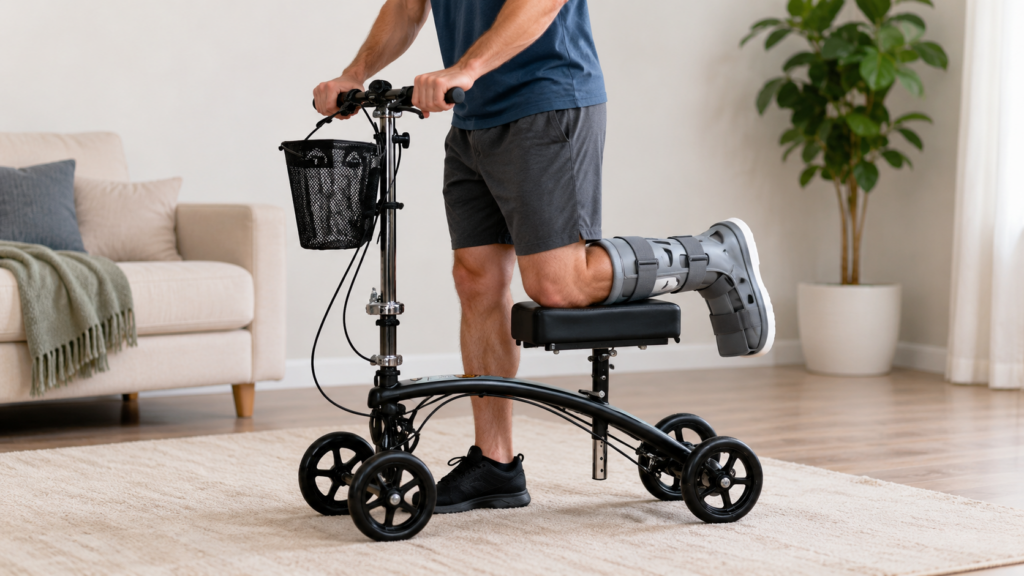
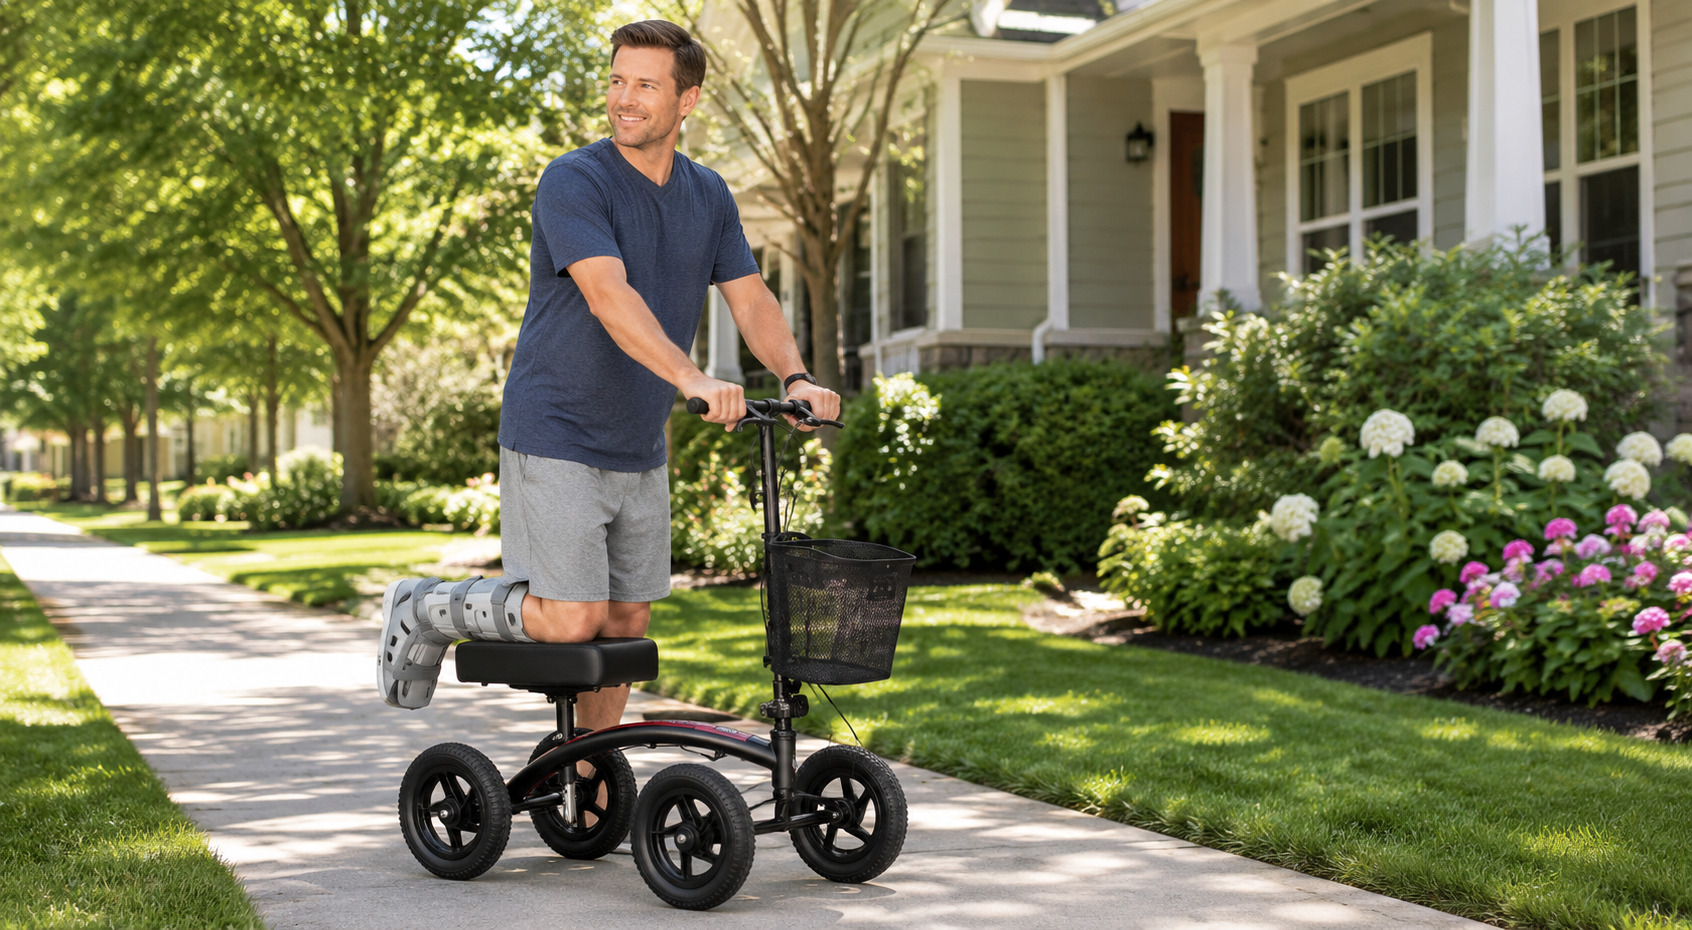
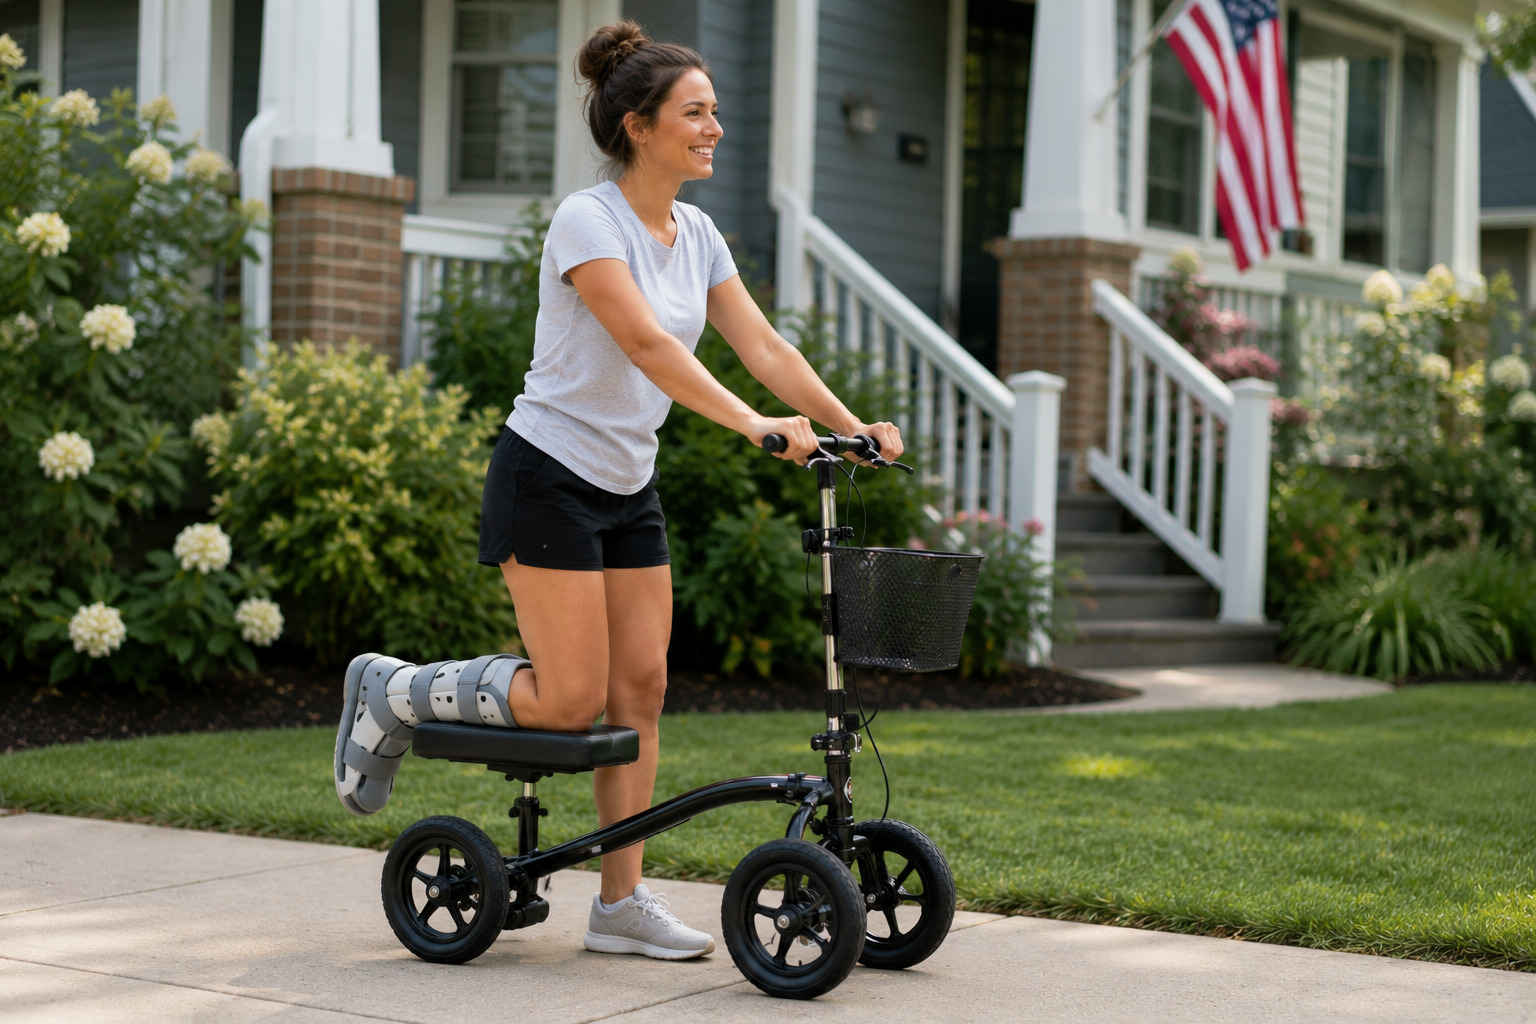
Once you’re steady, bend the injured knee to roughly 90 degrees. Lower it onto the knee pad, boot and all. That’s it. The pad carries your lower leg’s weight so your foot doesn’t have to touch down at all.
- Rest the shin and calf, boot included, flat on the knee pad
- Let the foot and ankle hang off the back edge, not the floor
- Center the knee on the pad so your hips stay level
- Check that the boot isn’t hanging off the side edge
Here’s a mistake almost everyone makes the first time: knee too far forward, and suddenly the boot’s tipping off the pad. If your hips feel off once you’re settled, that’s your sign. Slide back a bit until your hips sit level and the boot stops fighting for room.
Push Off and Maintain Balance
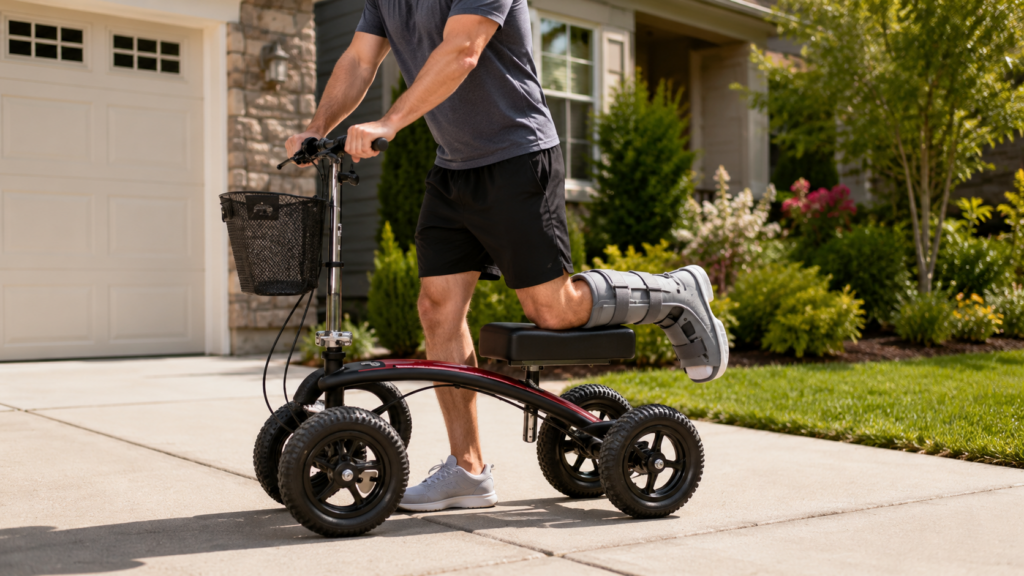
Boot’s locked in, hands steady on the bars. You’re ready to move. This is where people relax too fast, so keep your uninjured leg doing the heavy lifting, not the boot.
- Keep the good leg flat on the ground until you feel balanced
- Release the hand brakes only once you’re stable
- Push off gently, using small, controlled strides
- Avoid long pushes at first. Short and steady beats fast and shaky
First few pushes? Treat them like a test run. Once you get a feel for how the scooter tracks, lengthen your stride. Most people who end up overcorrecting near a doorway or a tight turn rushed this exact stage.
Brake and Dismount With Control
Stopping and getting off sound obvious. They’re not, and doing them out of order is where most falls happen. Slow your push-off leg first. Then bring in the hand brakes.
- Ease off your pushing leg to slow down naturally
- Squeeze both hand brakes to come to a full stop
- Keep both hands on the bars until you’ve completely stopped
- Lift the booted leg off the pad first, then step down with the good leg
Don’t try to hop off while it’s still rolling. Even a little momentum is enough to catch a wheel wrong, and you’ll end up right back where you started, only worse. Full stop first. Brakes on. Then dismount. Every single time.
Position, mount, push, and brake in that order, and a knee scooter becomes a steady, natural extension of your recovery routine.
Diagnose and Fix: Common Boot-Scooter Discomfort Issues
A boot changes how a knee scooter feels against your leg, and most people don’t expect that going in. Bulk, rigidity, and extra height all shift where pressure lands on the pad, turning small fit issues into real discomfort fast.
Here’s what tends to go wrong, and how to fix it.
Why Your Shin Keeps Rubbing the Pad
Boots don’t flex the way skin or a soft cast liner does. That rigid shell has real edges, and when one of those edges digs into your shin every few minutes, it’s rarely random.
Usually the leg’s sitting too far forward on the pad, or the knee rest is set a touch too low for how much bulk the boot adds compared to a bare leg.
Quick Fix:
- Shift the leg back so the boot’s edge clears the pad’s front lip
- Add a thin towel or pad cover if friction doesn’t ease up
- Recheck that the knee rest still holds a 90-degree bend with the boot on
Pro Tip: A half inch of repositioning solves this more often than not. Boots just don’t forgive sloppy placement the way a bare leg does.
The Boot That Won’t Stay Put
Momentum, not positioning, is usually the culprit here. Bumps, turns, and quick stops all nudge a bulky boot sideways, especially in the first few rides before you’ve built up a feel for how the scooter handles with the extra weight and width on the pad.
How to Correct It:
- Center the knee dead center before every single ride, not just the first
- Slow down ahead of turns instead of correcting mid-turn
- On split pads, keep the boot’s seam inside the gap, not straddling it
- Double-check your hips are level; a slow drift is often the first sign they’re not
Pro Tip: If the boot keeps sliding toward the same side every time, it’s almost never the pad. It’s the hip tilt.
That Sore, Achy Feeling by Day’s End
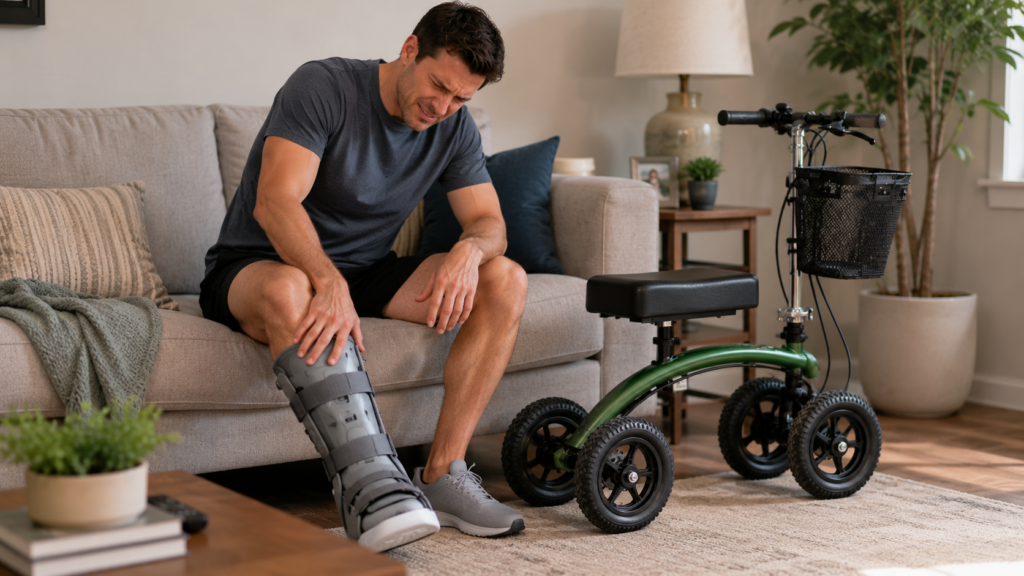
A little soreness after a full first day is normal, especially if you’re not used to putting your body weight through one leg for hours.
Sharp, lingering pain isn’t normal, though, and the difference usually comes down to pressure building up in one spot instead of spreading evenly. Boots also compress with wear, so a fit that felt perfect on day one can quietly shift by day five.
The Solution:
- Take a short standing break every 20 to 30 minutes on long outings
- Recheck pad height weekly as the boot settles and compresses
- Shift your stance slightly to change where pressure lands on the knee
Pro Tip: Persistent soreness is a fit signal, not something to push through. Adjust the setup before your next ride instead of powering past it.
Ankle Dangling or Feeling Unsupported
Some boots leave the ankle hanging stiffly off the back edge of the pad, which can feel awkward and unstable on longer rides, even when the knee itself is positioned correctly.
This usually comes down to how much of the boot’s length is actually resting on the pad versus hanging off it.
What Helps:
- Confirm the calf, not just the knee, is resting on the pad
- Slide back slightly so more of the boot’s length is supported
- Avoid letting the heel catch on the pad’s rear edge when dismounting
Pro Tip: A supported calf takes pressure off the ankle automatically, no extra padding needed.
Small adjustments to leg position, hip alignment, and pad contact fix nearly every boot-related discomfort.
Pick the Right Ride: Standard vs. All-Terrain for Your Boot
A boot doesn’t change which scooter fits your leg, but it does change where you’ll actually be riding it. That’s really the whole decision here, not the boot itself, but your daily terrain.
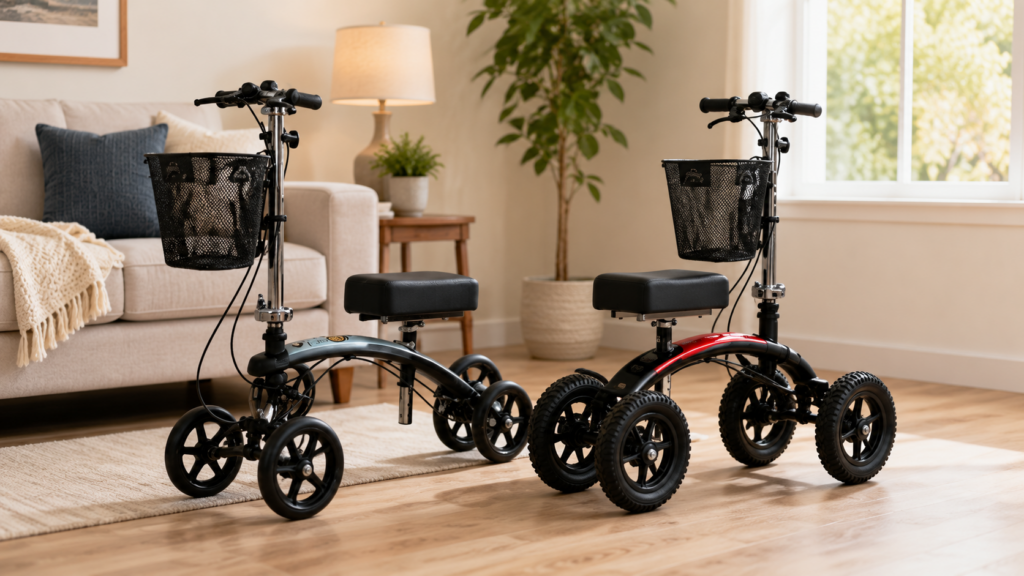
Standard Model: Built for Indoors and Smooth Ground
The Standard scooter runs on 7-inch solid rubber tires, and it’s built for carpet, tile, hardwood, and sidewalks. If most of your day happens at home, in an office, or somewhere with even flooring, this is the lighter, easier-to-maneuver option.
- Fits riders from 4’9″ to 6’6″, up to 350 lbs
- Lightweight and easy to transport, folds down compactly
- Comes with HCPCS codes for insurance reimbursement
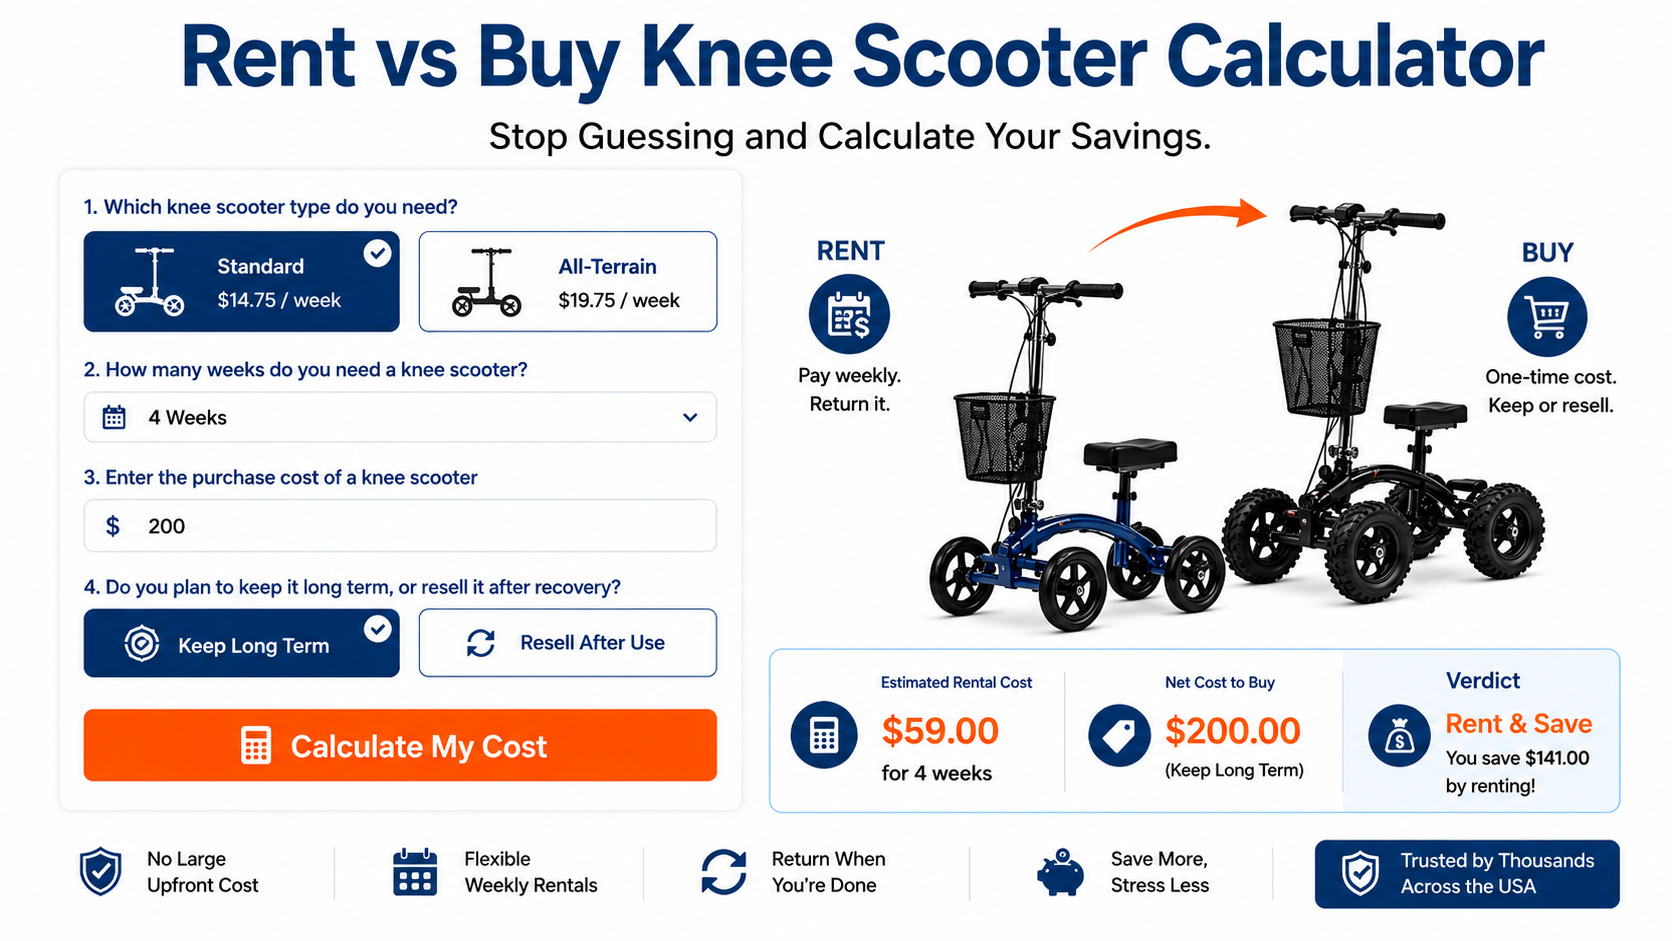
We rent the Standard model at $14.75 a week, which covers most people whose recovery is mostly happening at home.
All-Terrain Model: Built for Everything Outside
The All-Terrain scooter swaps those solid tires for 12-inch mountain bike tires, air-filled and built to smooth out bumps instead of transferring them straight to your injured leg. If you’re heading outside for work, dog walking, hiking, or you just don’t want to be stuck indoors for a month, this is the one that keeps up.
- Fits riders from 5’0″ to 6’6″, up to 350 lbs
- Indoor and outdoor use, smooth ride across nearly any surface
- Also comes with HCPCS codes for insurance reimbursement
All-Terrain rentals run $19.75 a week, a small jump considering how much rougher ground it can handle.
Which One Actually Fits Your Recovery?
Here’s the honest way to think about it: picture your average day in the boot, not your best day. If you’re mostly moving between rooms, staying close to home, or getting around a store or office, the Standard model does the job without costing you extra.
If your days involve gravel, grass, dirt, or you just live an active, outdoor-leaning lifestyle, the All-Terrain earns its few extra dollars a week fast.
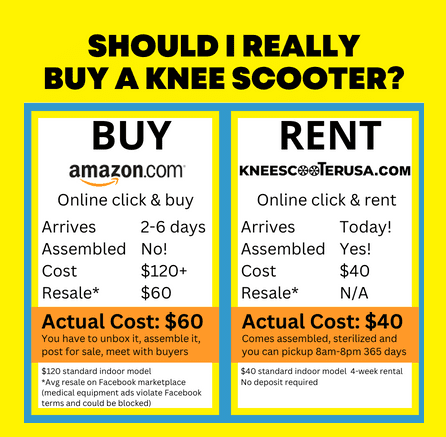
Either way, you don’t need to buy one to find out which fits. Renting means you can start with whichever model matches your situation now, and if your routine changes mid-recovery, switching models is one call away, not a return-and-repurchase hassle with a scooter you already own.
Comfort And Confidence Start With The Right Setup
Using a knee scooter with a walking boot gets a lot easier once the basics become routine. Position your leg correctly, keep your movements controlled, and don’t ignore small signs that your setup needs adjusting.
Those simple habits can help you stay comfortable, avoid unnecessary setbacks, and move through recovery with more confidence.
If you’re still looking for the right scooter, Knee Scooter USA has Standard and All-Terrain models available with affordable weekly rentals, same-day pickup, and no deposit, so you can get the support you need without paying for more than your recovery requires.