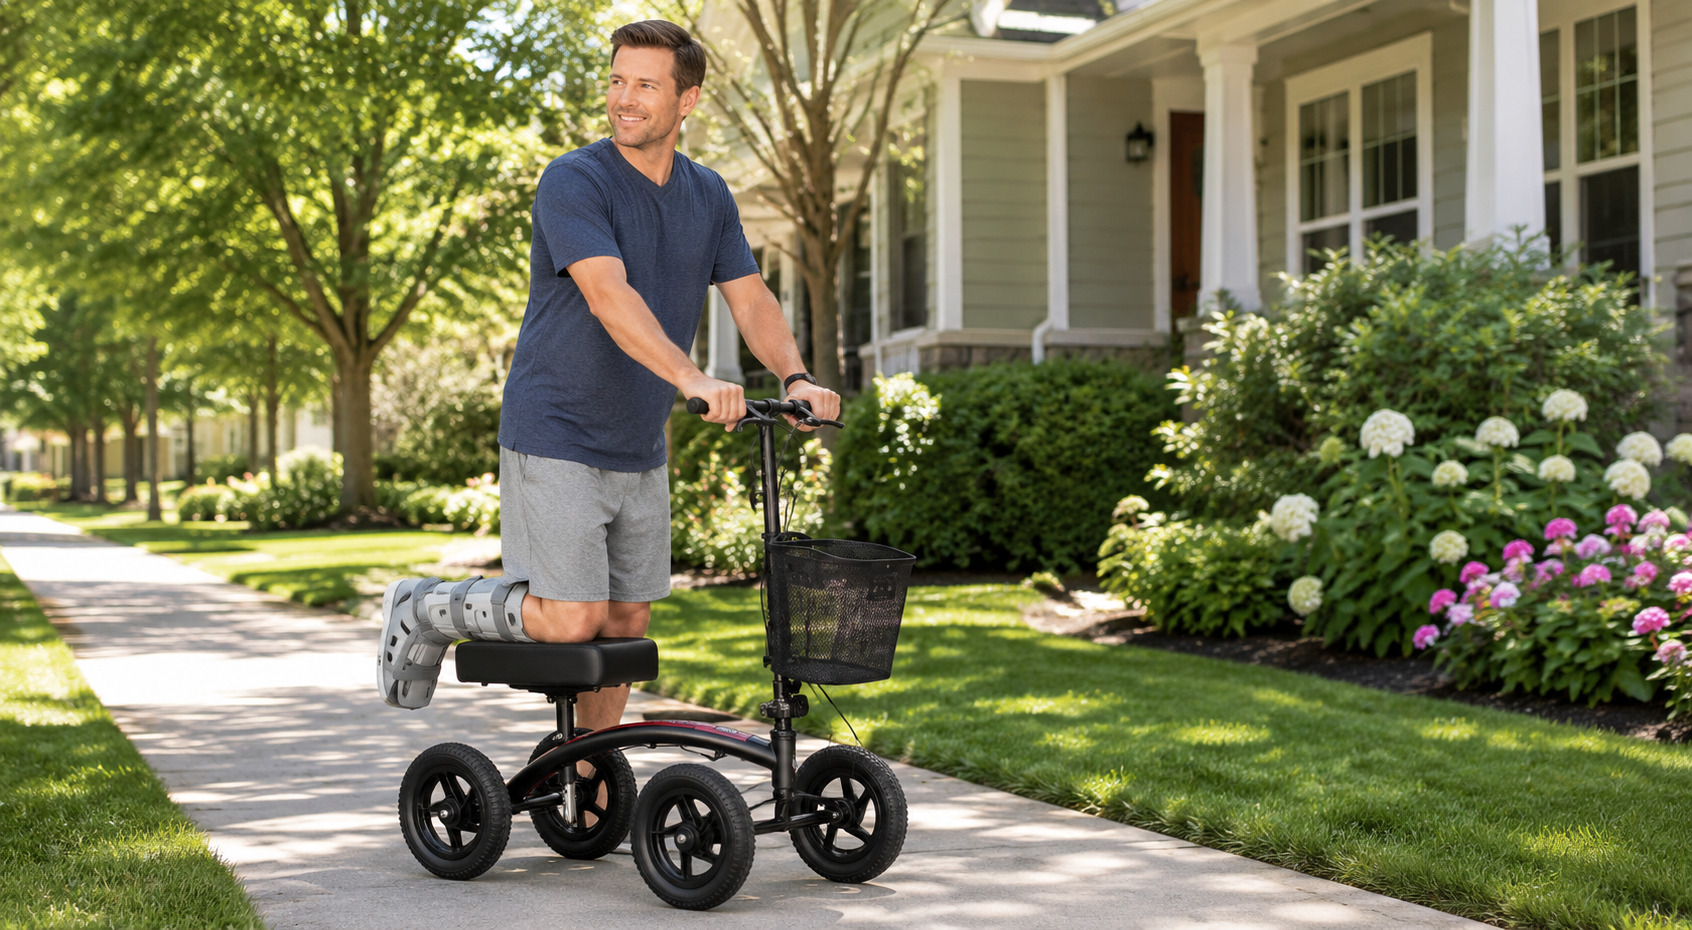
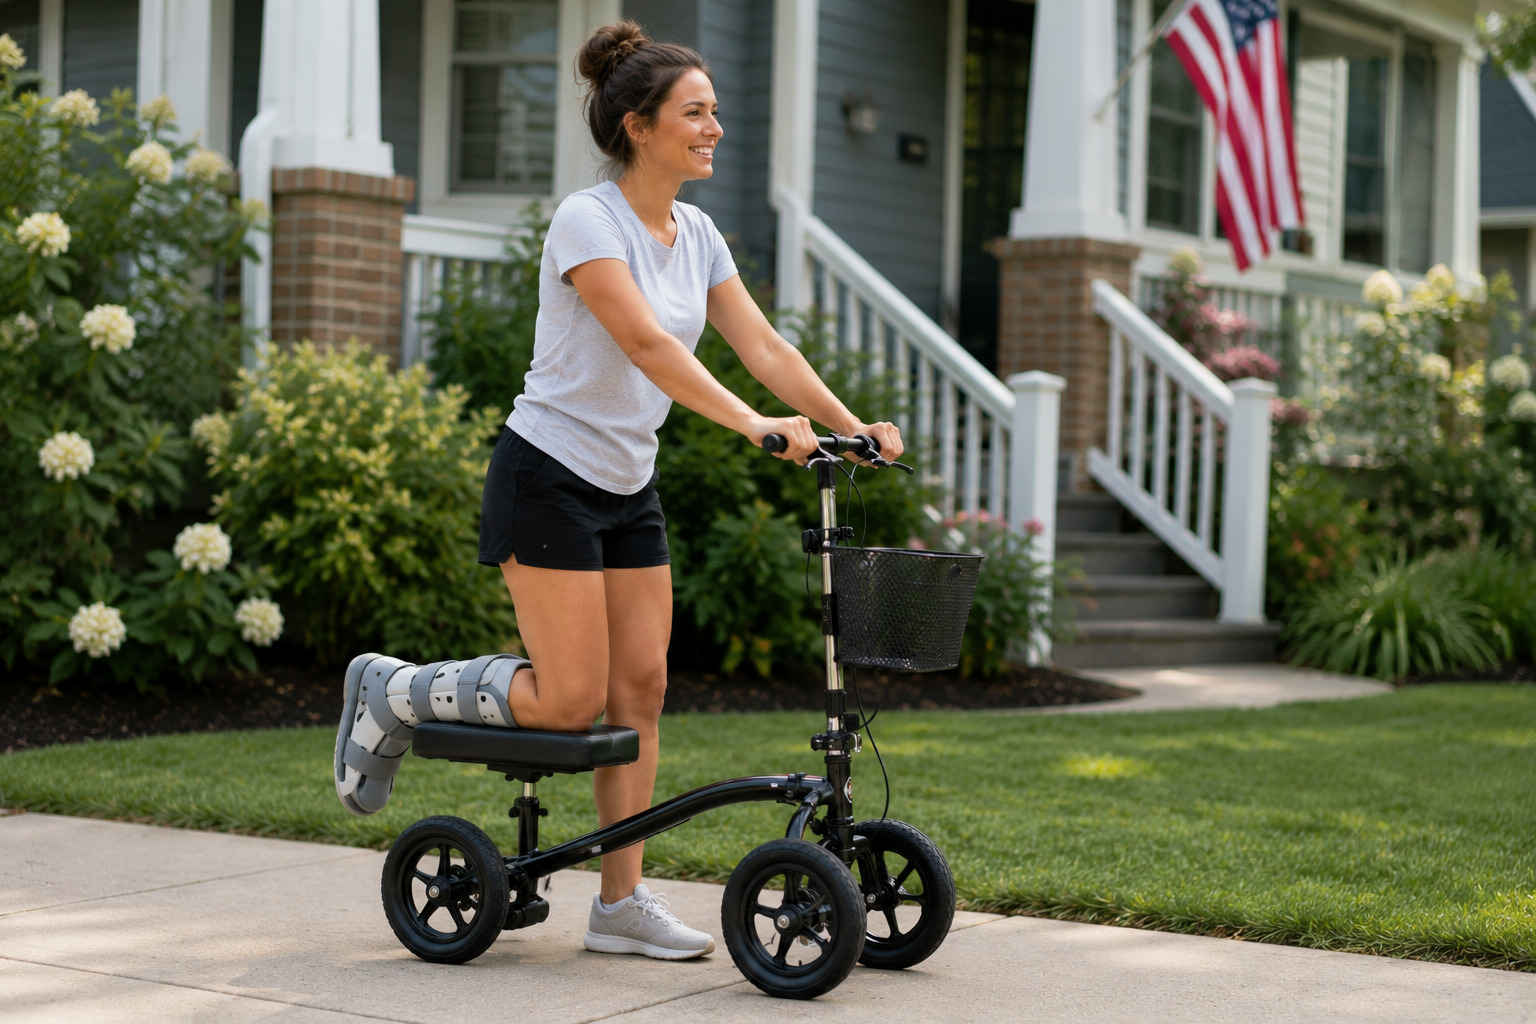
You don’t really think about how often you move around the house until one foot is stuck in a cast. The trip to answer the door feels different. So does reaching the bathroom before your morning coffee. None of it’s impossible, just unfamiliar at first.
If you’re learning how to ride a knee scooter with a cast, a few practical habits can make the days ahead feel much less awkward.
Nail The Technique: Riding A Knee Scooter Safely With A Cast
Dealing with a cast is hard enough on its own. Getting on the scooter and moving without wobbling, tipping, or ever putting weight on that leg takes the right technique.
These nine steps walk you through exactly that: how to load your knee, push off, steer, brake, and dismount without losing your balance once.
Step 1: Position the Scooter Beside Your Good Leg
Don’t plant it out in front of you and hop over. Line it up parallel to your body, right next to your good leg. That way the knee pad ends up close to where your injured knee already is. Skip this, and you’ll be reaching for it off balance a few seconds later.
- Keep the brake engaged before you touch the scooter
- Line the knee pad up roughly level with your injured knee
- Leave room to grip the handlebars without stretching
A scooter parked at an angle, or too far out, just means more hopping to reach it. More hopping means more risk. Simple as that.
Step 2: Grip the Handlebars First
Hands on the bars. Before the leg moves. No exceptions. Load your knee before you’ve got a solid grip, and you’re setting yourself up to lose balance before you’ve even started.
- Grip both handlebars, hands shoulder-width apart
- Brace your weight through your arms and your good leg
- Nothing touches the injured foot. Not even for a second
Your hands are the anchor here. Everything else moves around them, not the other way around.
Step 3: Load Your Knee onto the Pad
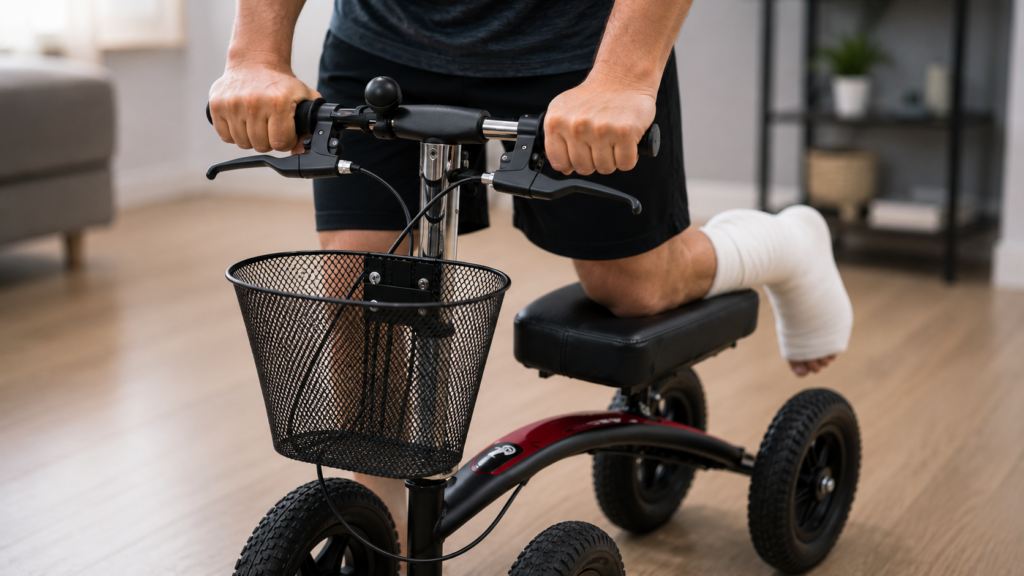
This is where people mess up. The knee goes on the pad. Not the shin, not the calf. Get the placement even slightly off, and the whole scooter starts handling differently.
- Lift the injured leg, knee flat in the center of the padded knee pad
- Check both edges. A bulky cast can clear the pad on one side and hang off the other
- Watch for it drifting toward the front or back without you noticing
Pro tip: If the pad tips under the cast’s weight, stop. Readjust. A crooked landing spot means a crooked ride, full stop.
Step 4: Plant Your Good Foot for Push-Off
Your good foot needs one fixed spot. Same spot, every time, after every push. Consistency is what keeps the whole motion smooth instead of jerky and unpredictable.
- Plant it flat on the ground, slightly behind the knee pad
- Keep the leg straight underneath you, not bent or braced
- That spot is home base. Return to it between strides
Every push starts and ends right there. Lose that consistency, and the wobble creeps back in fast.
Step 5: Release the Brake Only When You’re Set
Let go too soon, and that’s how a scooter rolls out from under someone. Happens more than you’d think, usually right when they’re trying to get comfortable.
- Hands firm on the bars, both of them
- Good foot planted and steady
- Only then, release the brake
Heads up: Feeling unsteady, even a little? Keep the brake on. Reset. Nobody’s timing you.
Step 6: Push Off in Short, Controlled Strides
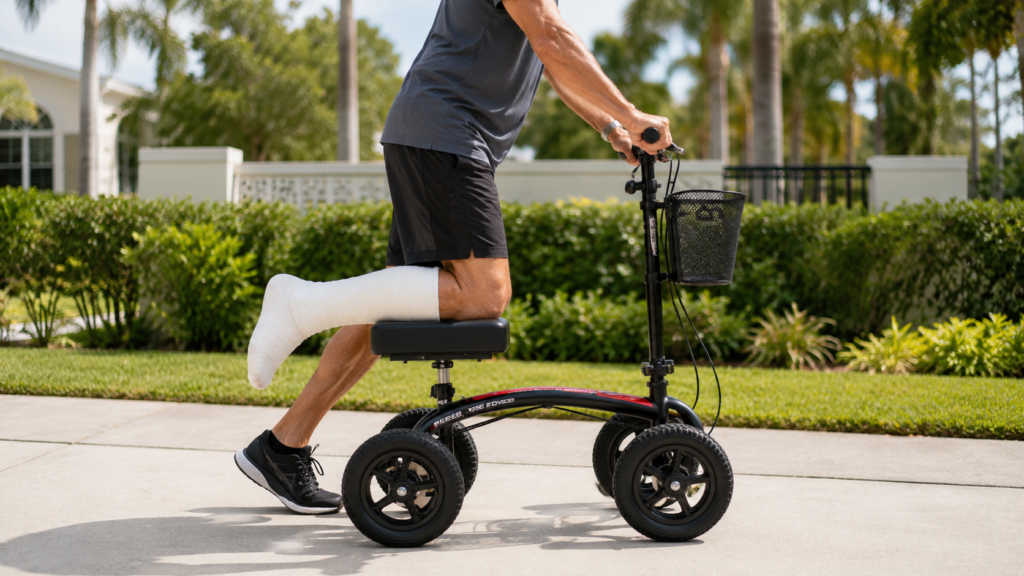
Speed’s the enemy here. Short, controlled pushes beat one long, committed stride, every time, especially in the first few days while you’re still learning how the thing responds.
- Push off gently with the good foot
- Keep strides short. Don’t stretch them out
- Pause between pushes to check your balance
Example: it’s like riding a bike at a crawl through a packed hallway. Small pushes. Small corrections. Nothing sudden.
Step 7: Steer by Leaning, Not Twisting
Steering comes from your upper body, not your hips. Twist at the waist, and you’re putting direct strain right on the injured knee, cast or no cast, and it’s an easy habit to fall into without realizing it.
- Lean the handlebars slightly toward the turn
- Hips and waist stay facing forward
- Let your arms and shoulders handle the steering
A small lean does more than you’d expect. Don’t overcorrect.
Step 8: Brake With Your Hand, Not Your Foot
Dragging the good foot to slow down feels natural. It’s also a fast way to slip, especially on tile or hardwood, and it dumps the whole load onto the one leg you can’t afford to hurt.
- Squeeze the handbrake to slow down or stop
- Keep the good foot off the floor while braking
- Foot drag is not a brake. Don’t rely on it as one
That’s what the handbrake’s for. Your good foot shouldn’t have to double as one. Use it, every time, not just when you remember.
Step 9: Stop and Dismount Safely
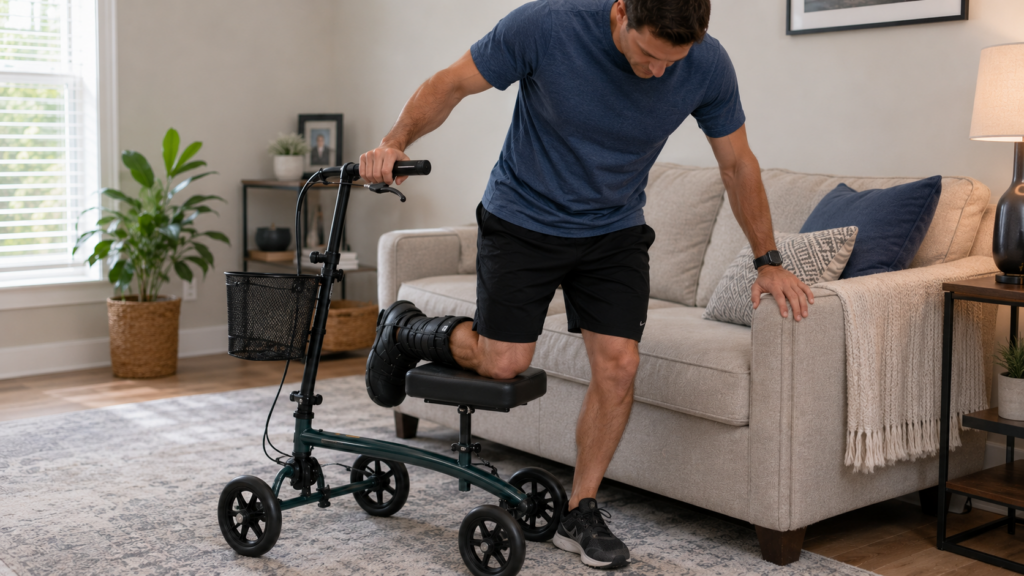
Dismounting wrong is just as risky as a bad push-off. People get careless here because they think the hard part’s behind them. It’s not, and this is exactly where most falls happen.
- Come to a full stop first. Before anything else
- Re-engage the brake so the scooter can’t roll
- Lift the injured knee off the pad, then shift your full weight onto the good leg
Heads up: Don’t let the injured foot touch the ground during dismount, even to catch your balance. One habit, and it can undo weeks of careful healing in a single second.
Once these nine steps feel automatic, run the full sequence in an open hallway before taking the scooter into a bathroom, a kitchen, or through a narrow doorway.
Wide open space gives you room to fix a bad habit before it becomes a fall. Tight spaces don’t give you that room. They just punish you for it.
Own Every Obstacle: Doorways, Corners, Ramps, and Rough Ground
Riding a knee scooter with a cast on flat, open floor is one thing. Real days aren’t flat and open. You’ve got doorways to squeeze through, corners to turn, ramps to control, and cracked sidewalks waiting where you don’t expect them, all while that cast leg stays clear and protected.
Here’s how to handle each one without catching the cast, tipping, or losing your balance.
Clear Doorways Without Catching Your Cast
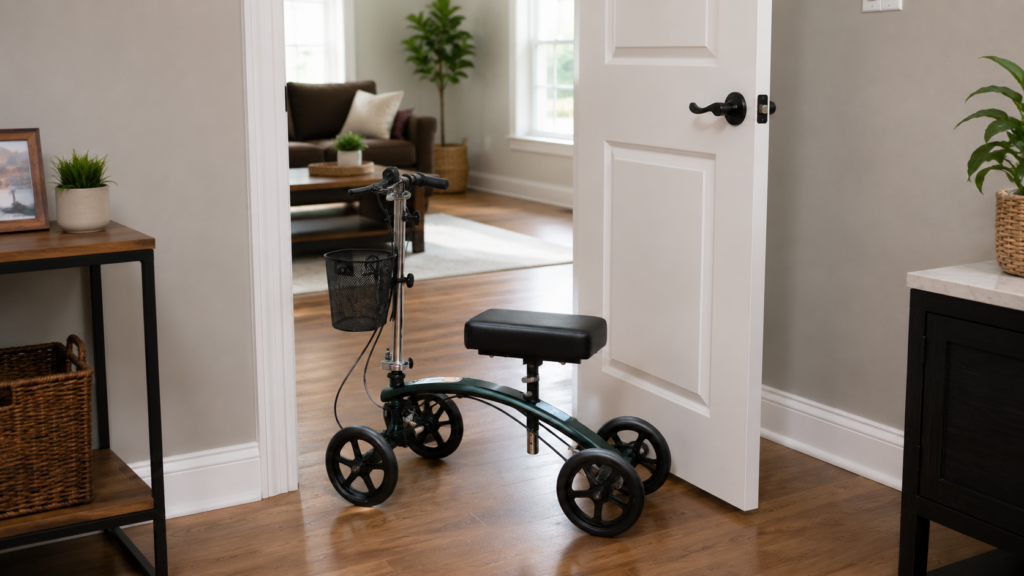
Line up straight before you roll through; angling in and squeezing sideways is how a casted foot clips the frame on the way past. Slow down a few feet out, and push the door fully open instead of trying to thread a narrow gap with your leg hanging off the pad.
- Approach the doorway head-on, not at an angle; a diagonal line gives your cast less clearance on both sides and turns a normal doorway into a tight squeeze
- Slow down a few feet before you reach the frame, not right as you hit it
- Watch where your casted foot trails behind the scooter as you roll through; it sticks out further than you’d think
- Open the door all the way; don’t try to squeeze through a half-open gap
Handle Tight Corners Without Tipping
Corners are where sharp pivots cause tip-overs, and a tip-over with your leg in a cast is exactly the injury you’re trying to avoid. Brake first, then work the turn in a few small adjustments instead of one big swing.
- Brake before you enter the corner, not mid-turn
- Make several small steering corrections instead of one sharp swing of the handlebars
- Skip the fast, sharp pivot; it’s what actually causes most tip-overs in tight spaces
Control Your Speed on Ramps and Slopes
Gravity does the work for you here, whether you want it or not, and a cast makes it harder to catch yourself if you lose control. Slow down before the slope starts, not once you’re on it, and keep both hands on the brakes the entire way.
- Reduce speed before the incline begins, since it’s much harder to slow down once you’re already on it
- Keep both hands on the brakes the whole way down, not just one
- Avoid steep inclines when you have another route available
- Never coast downhill; control your speed every second of the way
Cross Cracks and Thresholds Square On
A raised edge hit at an angle is how front wheels catch and stop dead while the rest of you, cast included, keep moving. Square up to it instead.
- Approach cracks and thresholds as straight as possible, the same way you’d line up for a doorway
- Slow down before you cross, especially on thresholds between rooms with different flooring
- Never strike a raised edge at an angle; that’s what catches a wheel and stops it dead
Match Your Route to the Right Wheels
This is where the model you’re riding matters more than your technique. Standard scooters run solid rubber tires built for indoor floors and smooth sidewalks; they weren’t made for loose or uneven ground, and forcing one across a yard with a cast on board is asking for a fall.
All-terrain models run larger, air-filled tires that handle grass, gravel, and rough pavement without getting stuck or jarring your knee on every bump.
Don’t assume any scooter can handle any surface. If your route includes yard, gravel driveway, or a cracked lot, pick your path based on which model you’re actually riding, not on hope.
Move With Confidence While Your Cast Heals
A knee scooter isn’t difficult to use once the basics stop feeling new. Position it the same way every time. Keep your movements controlled. Respect uneven ground, and don’t let small shortcuts turn into big setbacks. That’s really what this comes down to.
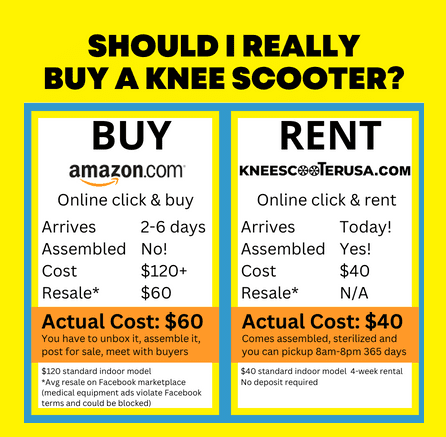
If you’re ready to rent a scooter, Knee Scooter USA makes the process quick, with clean models ready for pickup at locations across the country, so you can spend less time waiting and more time recovering.