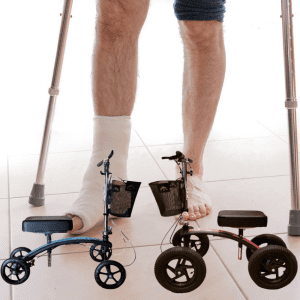
Nobody hands you an instruction manual when you leave urgent care with a boot on one leg and a knee scooter in the trunk. You’re expected to just figure it out, usually the same night you’re also trying to get up the front steps.
You might also hear it called a knee walker, or a medical knee scooter if a doctor’s office handed you the paperwork: all names for the same wheeled device that takes weight off an injured leg while it heals.
Using a knee scooter isn’t complicated, but there’s a right way to set it up, ride it, and stop on it that makes the difference between a smooth recovery and a bruised shin. This guide walks through both.
Using a Knee Scooter: 6 Essential Steps
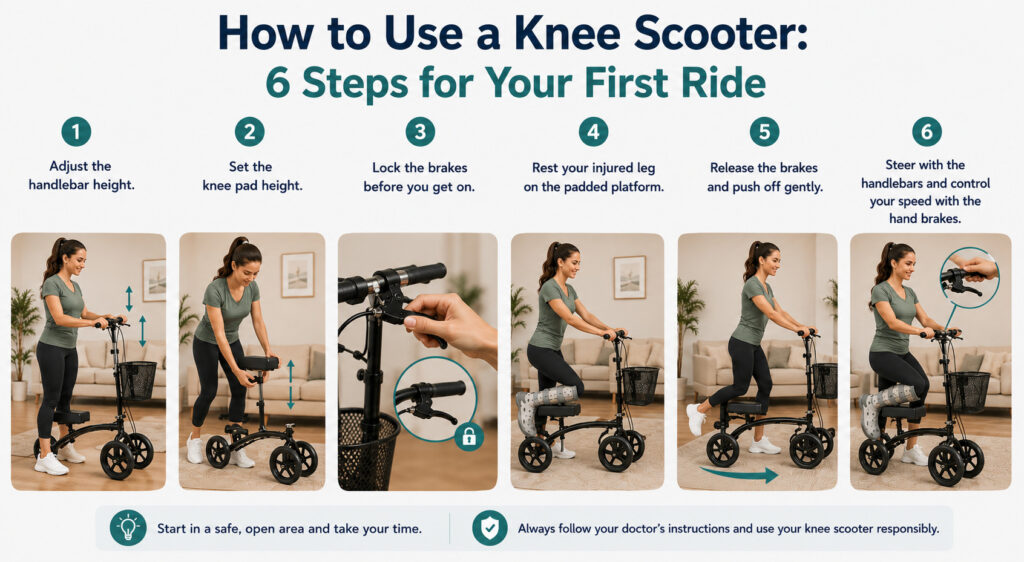
Whether you’re renting a Standard model for indoor recovery or an All-Terrain scooter for getting around outside, the basic riding process is the same:
- Adjust the handlebar height so your arms rest comfortably with a slight bend at the elbow, not locked straight and not hunched over.
- Set the knee pad height so your injured leg rests flat on the platform with your hip level, not tilted to one side.
- Lock the brakes before you get on. This one step prevents most of the falls that happen in the first five minutes of ownership.
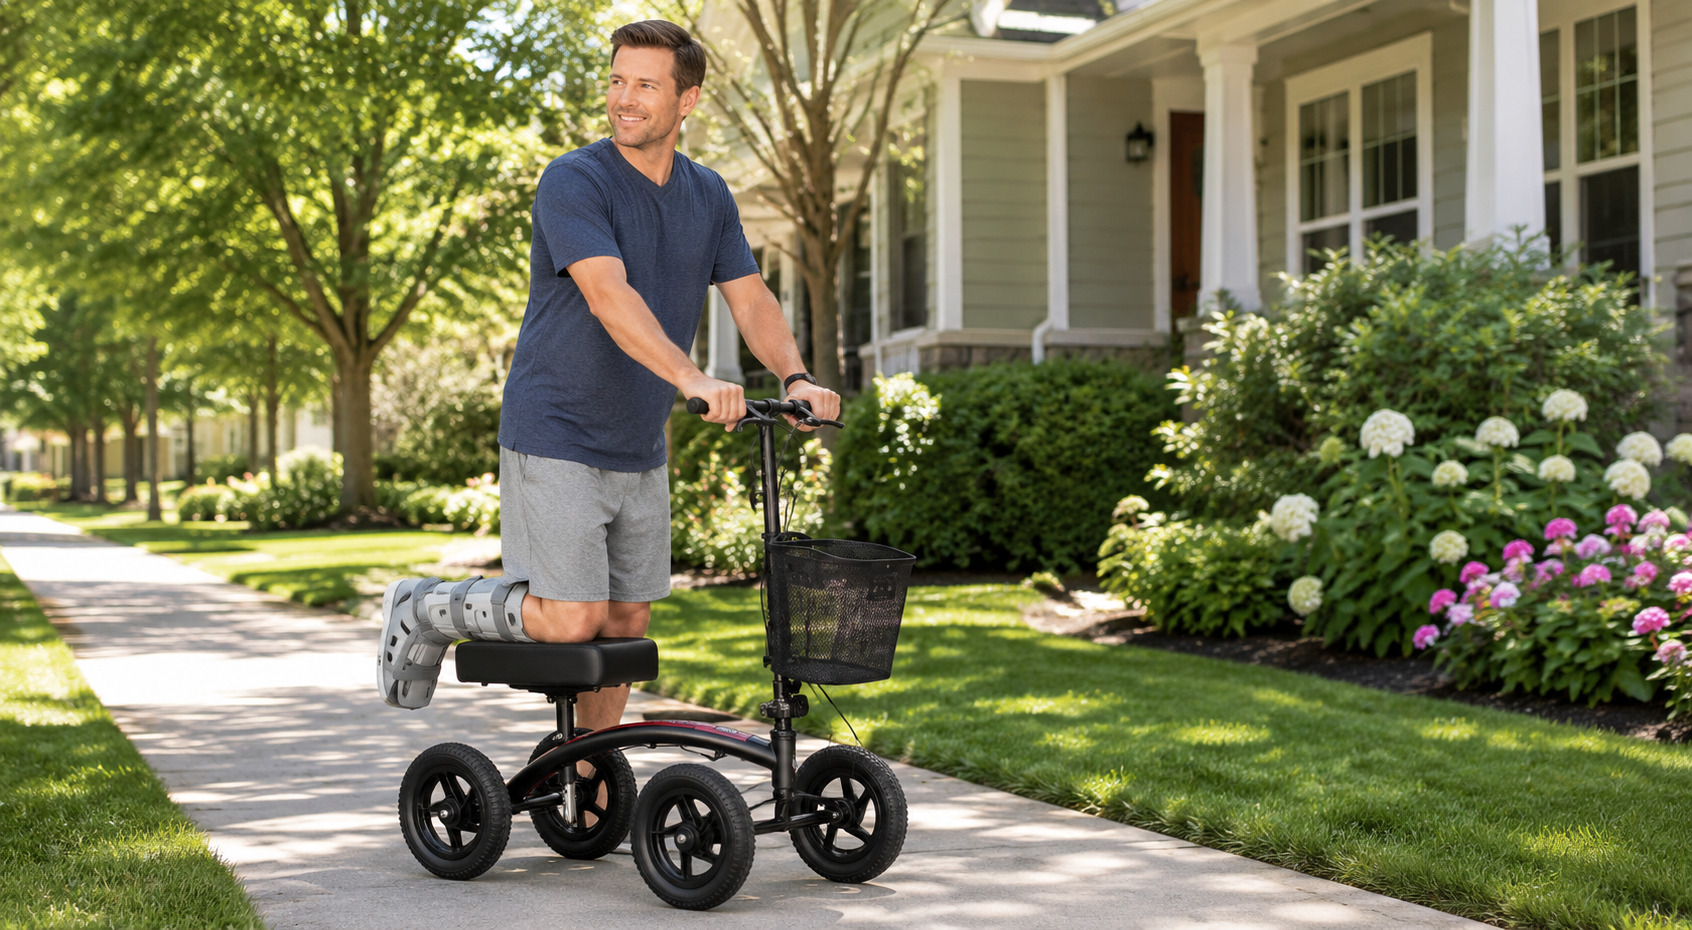
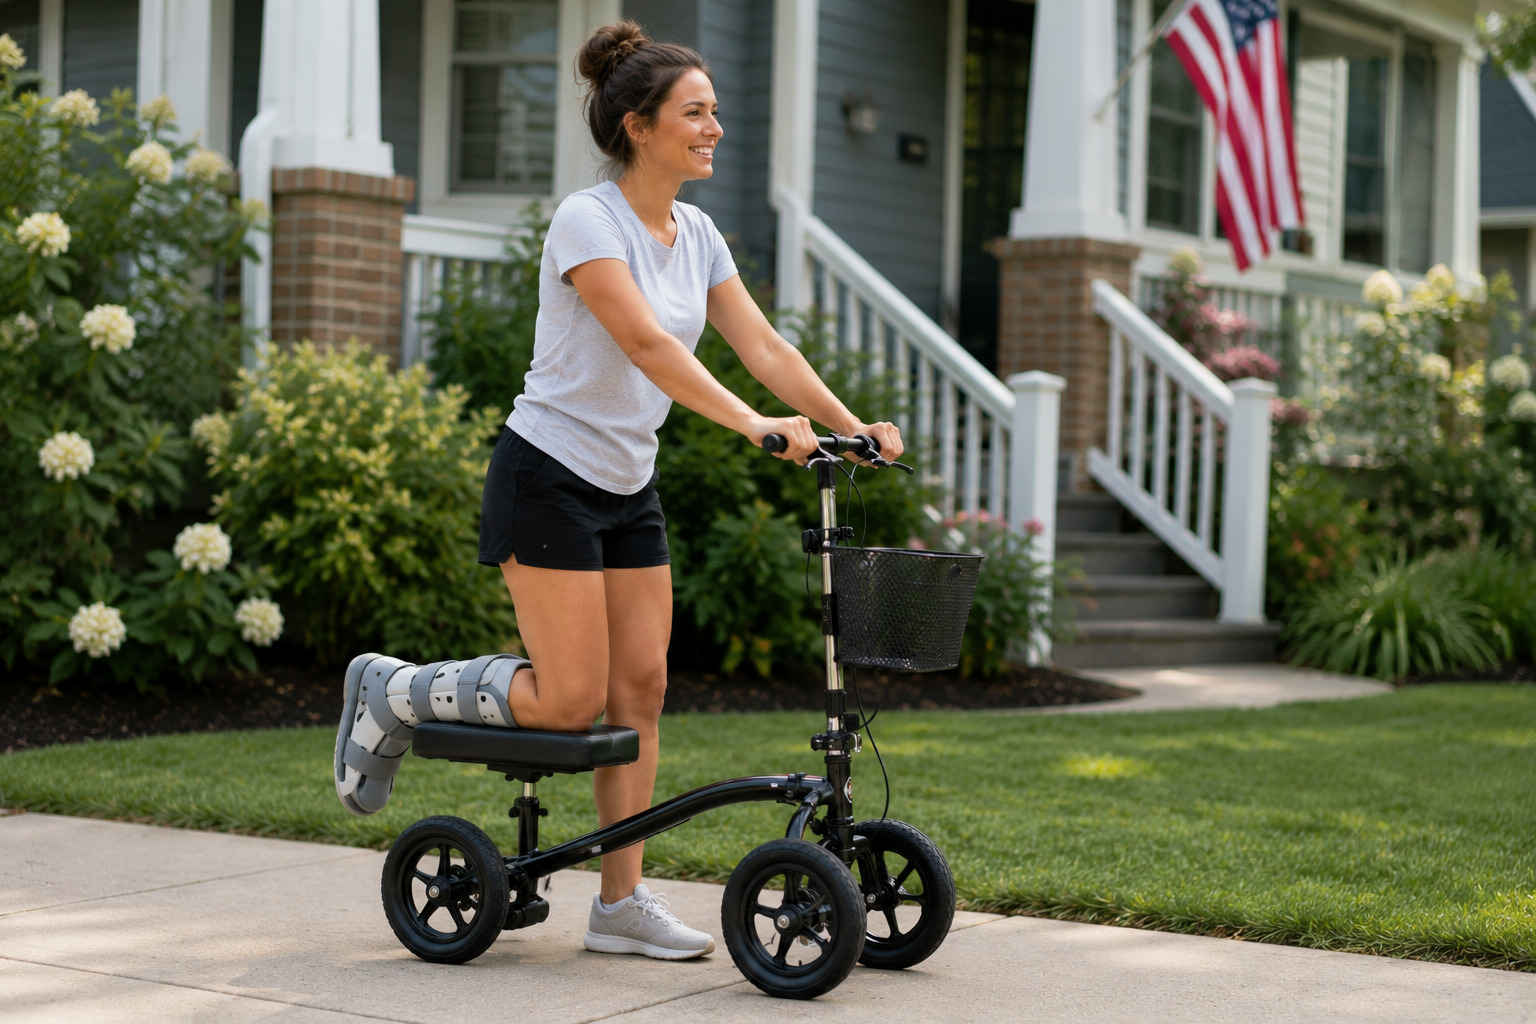
- Rest your injured leg on the padded platform, with your knee bent at roughly a right angle.
- Release the brakes and push off gently with your uninjured leg, the same way you’d push off a skateboard.
- Steer with the handlebars and control your speed with the hand brakes, squeezing gradually rather than grabbing them all at once.
PRO TIP: Practice steps 3 through 6 in an open room before you try a hallway or doorway. Most first-day wobbles come from turning too sharply, not from the scooter itself.
Getting the Right Fit Before You Ride
A knee scooter that’s set up wrong will fight you the entire time you use it, no matter how good your technique is.
Getting the fit right solves most of the discomfort people blame on the device itself. Before your first ride, check three things:
- Handlebar height: too low and you’ll hunch, too high and you’ll lose steering control.
- Knee pad height: your standing leg should be able to bend naturally with every push; if your hip tilts, the pad is too high or too low.
- Brake tension: both the parking brake and hand brakes should engage firmly without needing extra force.
For the full walkthrough on folding, brake adjustment, and locking mechanisms specific to your rental, our knee scooter setup and safety instructions cover each adjustment in detail.
Using a Knee Scooter for the First Time
The first hour on a knee scooter feels the least natural it ever will, and that’s normal. A few things make it easier:
- Start on carpet or a flat, open floor, not tile or hardwood, until you’re comfortable with the brakes.
- Keep your injured leg still on the platform. The instinct to “help” by shifting weight onto it is strong in the first day or two, but it defeats the purpose of the scooter.
- Practice stopping before you practice speed. You’ll use the brakes far more often than you’ll need to go fast.
- Give yourself a full day before attempting stairs, bathrooms, or tight hallways. Basic steering needs to feel automatic first.
Most people report feeling confident within a day, sometimes less. If it’s still feeling unsteady after 48 hours, it’s worth double-checking the handlebar and knee pad height rather than pushing through it.
The same advice applies if you’re using a knee walker rather than a knee scooter: it’s the same device by another name, so nothing about the technique changes.
Riding Technique: Steering, Turning, and Braking Safely
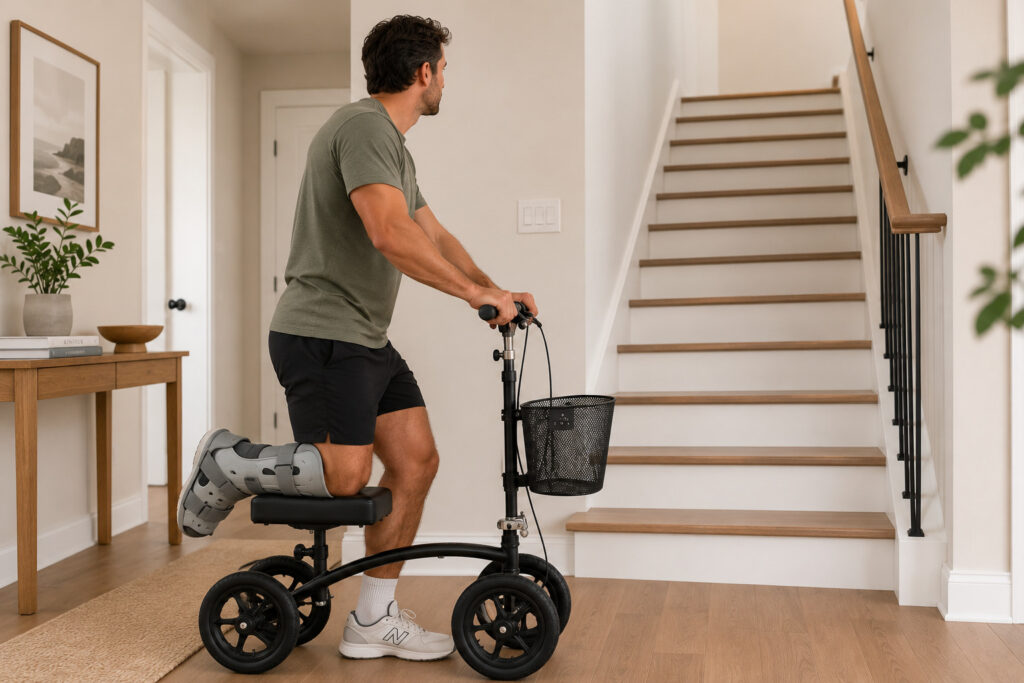
Once the basics click, technique is what actually keeps you upright.
- Widen your turns. Treat the scooter more like a car than a bicycle; swing wide instead of pivoting on the spot.
- Lock the brakes anytime you’re not actively rolling, including while brushing your teeth, cooking, or waiting for an elevator.
- Never mount or dismount without checking the brakes first. This single habit prevents the “rolling away” falls that catch people off guard.
- Slow down before a turn, not during it. Braking mid-turn is a common way to tip the scooter.
Navigating Stairs and Uneven Terrain with a Knee Scooter
It’s very important to know that knee scooters aren’t designed to be ridden up or down stairs under any circumstances.
For a full breakdown of how to handle stairs safely with a scooter nearby (rather than under you), see our guide on using a knee scooter on stairs.
Uneven ground is a different story. A Standard scooter with solid tires handles carpet, tile, and pavement fine, but gravel, grass, and door thresholds can catch smaller wheels off guard.
If you’ll be outside regularly, an All-Terrain scooter with larger tires is worth requesting when you rent.
Common Mistakes That Lead to Falls
Scooter users report both higher satisfaction and a lower risk of falling overall, which tracks with what surgeons see in practice: most falls from trace back to a small number of avoidable habits, not the equipment itself.
- Riding with the brakes only half-engaged. A brake that isn’t fully locked can slip under weight.
- Carrying items in your hands instead of a basket. It’s tempting, but it removes your ability to catch yourself.
- Using the scooter on stairs, escalators, or curbs. Get off and use the handrail or a wall instead.
- Letting someone else ride along, including kids. The platform is built for one leg, one person.
- Skipping the brake check when getting on or off. This is the single most common cause of first-week falls.
Renting vs. Buying: Which Makes More Sense?
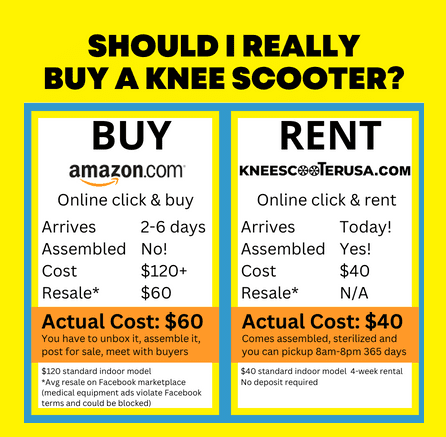
For a device you’ll likely use once, for a few weeks, renting almost always wins.
Buying means 2-3 days of shipping and assembling a scooter one-legged, then trying to resell it afterward for a fraction of the price once you’re done. Facebook Marketplace now blocks most medical equipment listings outright, which makes reselling even harder than it used to be.
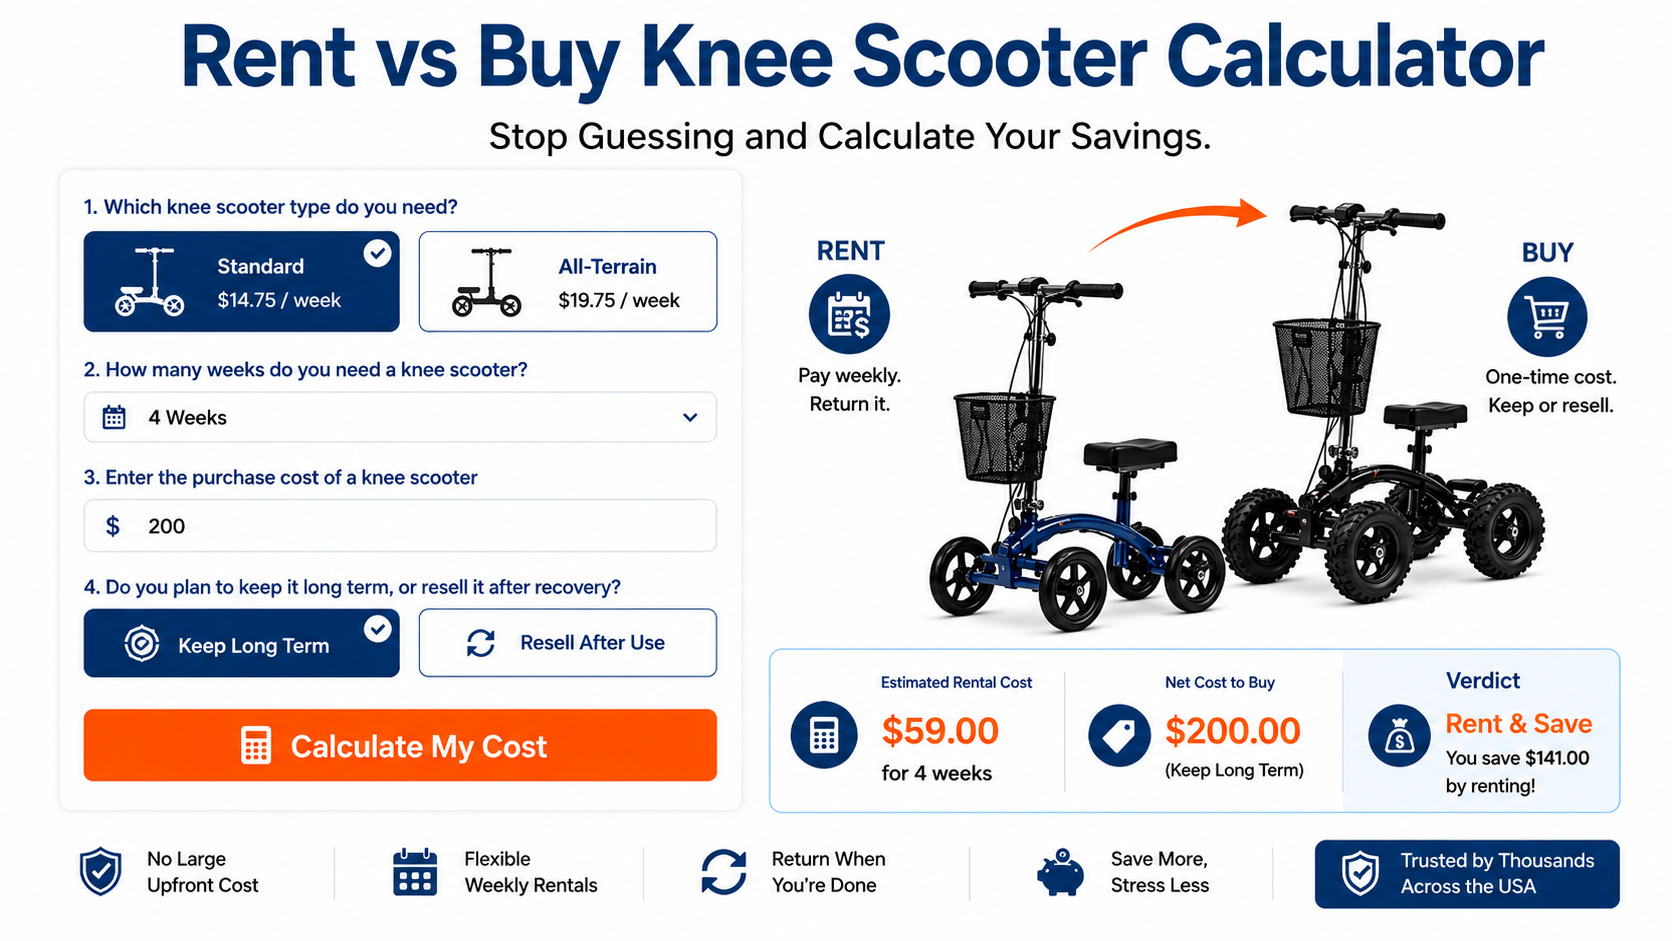
If you’re weighing the two options, our rent vs. buy calculator and full cost-to-rent breakdown can show you the real numbers for your situation, including insurance reimbursement through your HCPCS code, if your plan covers durable medical equipment.
Ready to Get Rolling?
Learning how to use a knee walker takes a few hours, not weeks. Get the fit right, lock the brakes out of habit, and take wide turns instead of sharp ones, and the rest comes naturally.
If you don’t have a scooter yet, Knee Scooter USA has Standard and All-Terrain models ready for same-day local pickup, with insurance-ready receipts included, in cities across Arizona, California, Colorado, New Mexico, South Carolina, and Texas.
Knee Scooter FAQ
What to know before getting a knee scooter?
Confirm your injury is below the knee. Knee scooters rely on a healthy, weight-bearing knee joint, so knee injuries, significant balance issues, or multi-level homes without a downstairs bedroom or bathroom need extra planning.
Beyond that, know your rough timeline (most people need one for 3 to 4 weeks) and whether you’ll need it indoors only or outside too, since that determines Standard vs. All-Terrain.
What things to consider before getting a knee scooter?
Beyond fit and injury type, think about where you’ll actually use it: carpet vs. hardwood, one floor vs. multiple, and how far you’ll need to travel day to day. If you’re unsure, what to look for in a knee scooter breaks down the buyer’s checklist in more detail.
How to ride a knee scooter?
Lock the brakes, rest your injured leg on the padded platform with your knee bent, then release the brakes and push off gently with your other leg. Steer with the handlebars and control speed with the hand brakes, squeezing gradually instead of grabbing them suddenly. Full steps are covered above.
How to use a knee scooter (knee walker) for the first time?
Start in an open, flat space like a living room before attempting hallways or doorways. Practice locking and releasing the brakes a few times before you actually push off, and expect the first hour to feel less natural than the rest of your recovery.